Learning how to wire a motion sensor to existing flood light can improve security, convenience, and outdoor energy management. The task appears simple. It is not always simple.
The U.S. Department of Energy reports that LED products use up to 75% less energy than incandescent lighting. They can also last up to 25 times longer. However, a sensor must match the flood light’s voltage, load, wiring method, and control type. A mismatched sensor may cause flickering, false activation, or complete failure. NFPA research also identifies electrical distribution equipment as a major contributor to reported home fires, making careful isolation and testing essential.
Mike Holt, a respected electrical educator and founder of Mike Holt Enterprises, emphasizes, “Safety should never be compromised.” That principle matters beside a wet driveway, a metal junction box, or an exposed cable. Turn off the correct circuit breaker, then verify the wires with an approved voltage tester. Never rely only on a wall-switch position.
This guide explains seven practical tips for how to wire a motion sensor to existing flood light safely and clearly. It covers identifying line, load, neutral, and ground conductors. It also discusses sensor placement, weatherproof connections, adjustment settings, and final testing. Small detail. Big consequence. Even experienced installers can misidentify a conductor or overlook an incompatible LED driver. Local electrical requirements may differ, so a qualified electrician should inspect uncertain or concealed wiring. Expect a few imperfect adjustments. Motion range, timer settings, and daylight sensitivity often need real-world testing after installation.
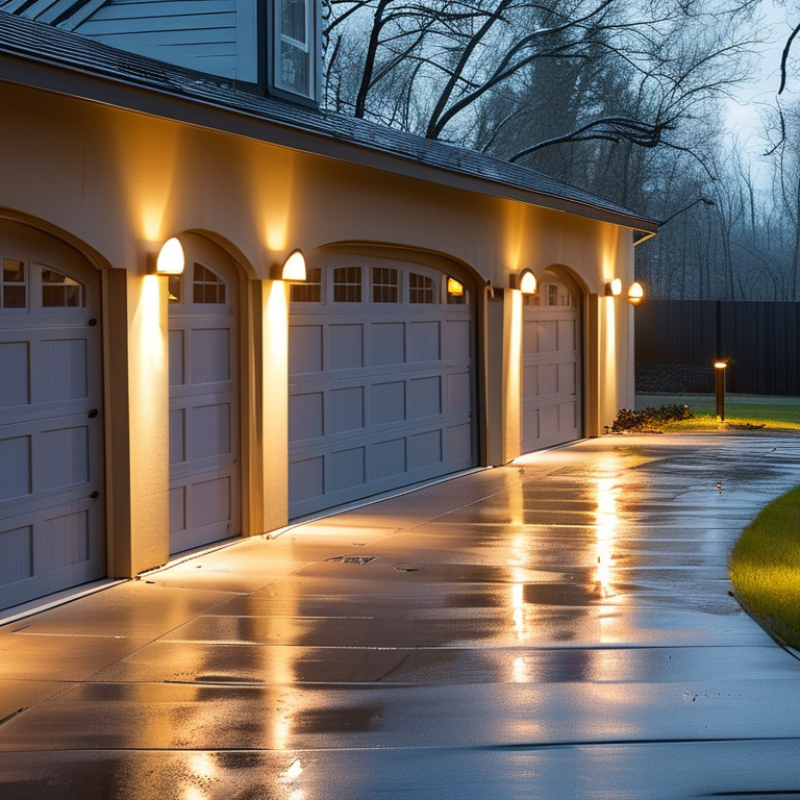
Before wiring, identify the supply cable, neutral, ground, and switched load. Most outdoor motion sensors use line, neutral, and load terminals, but colors can vary in older homes. Turn off the breaker, then verify dead wires with a tested meter. Never trust the wall switch alone. NFPA 70 requires suitable grounding, protected connections, and approved outdoor electrical boxes.
Match the sensor’s voltage and maximum load with the flood light. LED fixtures may create brief startup surges, even when their wattage looks small. Seal the box with an outdoor-rated gasket, and keep cable entries facing downward. Aim the sensor away from roads, vents, and reflective walls. Small adjustments matter. The U.S. Department of Energy reports that occupancy controls can reduce lighting energy use by roughly 10% to 50%, depending on space use and settings. That range is useful, but not a promise.
Test the manual override, detection range, and shutoff delay after installation. A two-minute delay may suit a walkway, while a longer setting may reduce repeated switching near a driveway. Check local electrical rules before replacing wiring. My practical mistake was adjusting sensitivity before securing the sensor; wind movement caused false triggers. Recheck mounting, connections, and weather sealing after the first storm. If the wiring lacks a clear ground or contains damaged insulation, stop and call a licensed electrician.
Check compatibility before touching a wire. Match the sensor’s voltage, load rating, outdoor rating, and wiring design. Some sensors need a neutral wire; older floodlight boxes may not provide one. Confirm whether the fixture uses a switched hot, neutral, and ground. LED lamps also create startup surges, so their rated load must not exceed the sensor’s limit.
The U.S. Department of Energy reports that suitable lighting controls can reduce lighting energy use by 20–60%. That saving depends on correct installation and realistic detection settings.
Prepare insulated screwdrivers, a non-contact voltage tester, wire connectors, and a weatherproof cover. Turn off the circuit breaker, then test every conductor. Do not trust wire colors alone. Keep the power off while connecting line, load, neutral, and ground wires according to the sensor diagram.
Follow the National Electrical Code and local requirements, especially for outdoor boxes and grounding. Moisture inside a loose box can cause nuisance trips or dangerous faults.
Set the detection range away from roads, trees, and warm vents. A practical test begins with a short timer and medium sensitivity.
The International Energy Agency identifies lighting as about 15% of global electricity consumption, but motion control cannot fix poor aiming.
I have found that rushed adjustments create false triggers. Recheck the fixture at night. If the sensor requires an unavailable neutral, stop and consult a qualified electrician rather than improvising.
Before touching the flood light, switch off the correct circuit breaker. Do not trust the wall switch alone. Test the wires with a suitable voltage tester, then test again after a short pause. A dark fixture can still contain live wiring. Wear eye protection, especially when loosening dusty covers.
Remove the fixture cover carefully and photograph the existing connections. Look for loose wire nuts, scorched insulation, cracked cable jackets, or moisture inside the box. Identify the live, neutral, and ground wires by tracing them, not by color alone. Older installations may use faded or unusual insulation colors. That detail matters. I once assumed a black wire was live and nearly missed a previous repair.
Check whether the electrical box has enough space for the motion sensor and its connectors. Read the sensor instructions before changing anything, because wiring layouts differ. Usually, the sensor connects between the power supply and the flood light, while neutral and ground remain continuous. However, existing wiring may not match the expected arrangement. Stop if wires feel brittle, terminals are corroded, or the box lacks grounding. A qualified electrician should inspect uncertain connections. Rushing here creates heat, nuisance tripping, or shock hazards.
Turn off the circuit breaker before touching the existing flood light. Confirm the wires are dead with a reliable voltage tester. Remove the light fixture carefully, then photograph the original connections. This small record can prevent confusion later. Identify the line, neutral, load, and ground wires, but do not trust colors alone.
Connect the incoming line wire to the sensor’s line terminal. Connect the sensor’s load wire to the flood light’s live wire. Join the neutral wires securely, and connect ground wires to the grounding terminal or approved ground point. Use outdoor-rated connectors inside a weatherproof box. Keep exposed copper fully covered. If the existing wiring looks damaged, stop there.
Practical tips: Check the sensor’s voltage rating and maximum lighting load first. Aim the sensor away from roads, heaters, and moving tree branches. Set sensitivity and timer controls to moderate levels before testing. Restore power and walk across the detection area slowly. The light should activate without flickering. I recheck every connection after the first test, because one loose terminal can cause strange behavior. A licensed electrician should handle uncertain wiring or code requirements. My early installations taught me this: neat wiring is helpful, but verified wiring matters more.
| Step | Tip and Task | Connection or Action | Useful Tools and Materials | Important Check |
|---|---|---|---|---|
| 1 | Confirm compatibility before wiring | Verify that the motion sensor is rated for the same supply voltage and current type as the flood light circuit. Confirm that the flood light load is within the sensor's listed maximum wattage or amperage. | Motion sensor instructions, flood light label, circuit information | Do not rely on wire color alone. Follow the wiring diagram supplied with the sensor. |
| 2 | Switch off and test the circuit | Turn off the correct circuit breaker or fuse. Prevent accidental re-energizing, then test the supply conductors with an approved voltage tester before touching any wiring. | Approved voltage tester, insulated tools, eye protection | Test the tester on a known live source before and after checking the circuit when practical. If the circuit cannot be positively identified, stop and obtain qualified assistance. |
| 3 | Identify the conductors | Identify the incoming line/hot conductor, neutral conductor, equipment grounding conductor, and the switched output that will feed the flood light. Mark each conductor before disconnecting anything. | Circuit labels, wire markers, camera for reference | Common color conventions are not universal. The sensor's LINE, LOAD, NEUTRAL, and GROUND labels take priority over assumptions. |
| 4 | Connect the line and neutral wires | Connect the incoming line/hot wire to the sensor terminal marked LINE or IN. Connect the circuit neutral to the sensor neutral terminal when required by the sensor design. Use approved wire connectors. | Approved wire connectors, wire stripper, screwdriver | Make sure no bare copper is exposed outside a connector and that the conductor size matches the circuit requirements and terminal instructions. |
| 5 | Connect the sensor output to the flood light | Connect the sensor terminal marked LOAD or OUT to the flood light's switched line/hot lead. The flood light neutral remains connected to the circuit neutral, and the grounding conductors remain bonded together as required. | Wire connectors, insulated screwdriver, terminal labels | Never connect the flood light load to the sensor's LINE terminal unless the wiring diagram specifically requires that configuration. |
| 6 | Ground and secure the assembly | Connect the equipment grounding conductors to the metal electrical box, grounding terminal, or sensor ground lead as required. Fold the wires carefully into the box and install the sensor and flood light with suitable weather-resistant seals outdoors. | Grounding connector, mounting screws, weatherproof gasket or cover | Outdoor enclosures should be rated for the location, and cable entries must be sealed to help prevent moisture intrusion. |
| 7 | Restore power and adjust the settings | Restore power and test the light by walking through the detection area. Adjust the sensor's sensitivity, time delay, and daylight or lux setting according to the installation instructions. | Ladder if needed, adjustment screwdriver, test plan | Keep the sensor away from direct heat sources, moving branches, and strong reflected light. If the light flickers, trips the breaker, or operates unexpectedly, switch off power and inspect the installation. |
Safety note: Electrical installation requirements vary by location. For fixed wiring, outdoor circuits, unfamiliar wiring, or any installation without a reliable grounding path, use a licensed electrician and follow applicable electrical codes.
Wire a motion sensor only after switching off the breaker and confirming dead wires with a tester. Match line, load, neutral, and ground conductors carefully. Existing flood lights may use separate neutrals or shared junction boxes. Never rely on wire color alone. A licensed electrician should inspect uncertain connections.
Tip 1: Test one setting at a time. Set the timer near its shortest delay, walk across the detection zone, and watch the light respond. Adjust sensitivity gradually. Direct movement usually detects better than walking toward the sensor. The U.S. Department of Energy reports that lighting uses about 15% of household electricity, so accurate activation can reduce waste.
Tip 2: If the light stays on, reduce sensitivity and check whether heat, moving branches, or reflected sunlight crosses the sensor. If it never activates, inspect the neutral connection and photocell setting. A loose wire may appear secure but fail under vibration. NFPA reports that electrical malfunctions caused about 13% of home structure fires in its 2016–2020 analysis. That figure makes careful testing more than a convenience.
Tip 3: Flickering often indicates an incompatible load, weak connection, or moisture inside the box. I would retighten nothing while energized. That mistake is easy to make. Seal outdoor fittings, confirm grounding, and test the light during daytime and nighttime conditions. Local electrical rules still control the final installation.
This chart shows the recommended troubleshooting priority based on common motion-light wiring checks. Always switch off the circuit breaker before opening the fixture, verify the line is de-energized, and follow the sensor and local electrical-code instructions.
Identify the incoming line, neutral, switched load, and ground wires. Wire colors can be unreliable in older homes. Verify each wire with a tested meter.
No. Turn off the circuit breaker and test the wires afterward. A wall switch may not disconnect every energized conductor. Never assume.
Connect the incoming line to the sensor’s line terminal. Connect the sensor’s load terminal to the light’s live wire. Join neutral wires securely, then connect the grounds.
Use outdoor-rated connectors and a weatherproof electrical box. Seal the box with a suitable gasket. Keep cable entries facing downward, and cover all exposed copper.
Aim it across the walking path, not directly toward approaching movement. Keep it away from roads, vents, heaters, reflective walls, and moving branches. Small angle changes matter.
Confirm the sensor voltage matches the circuit. Check its maximum lighting load, including possible LED startup surges. Tighten terminals and inspect damaged insulation.
Start with moderate sensitivity and a short delay. Walk slowly across the detection area during testing. Secure the sensor before adjusting sensitivity. I once adjusted it too early, and wind caused repeated triggers.
Restore power and check activation, shutoff timing, manual override, and flickering. A two-minute delay may suit a walkway. Recheck connections and weather sealing after the first storm. My setup was neat, but one loose terminal still caused strange behavior.
This guide explains how to wire motion sensor to existing flood light safely and effectively. It begins by introducing how motion sensors interact with flood light wiring, followed by key compatibility checks, required tools, power specifications, and essential electrical safety precautions. Before starting, readers are instructed to switch off the circuit breaker, verify that the power is fully disconnected, and inspect the existing flood light connections carefully.
The step-by-step process then covers identifying the line, load, neutral, and ground wires, connecting the motion sensor correctly, securing all terminals, and protecting the connections from moisture. After installation, the guide explains how to restore power, adjust sensitivity, detection range, and timer settings, and test the light under different conditions. It also highlights common wiring problems, such as loose connections, incorrect wire placement, or a sensor that does not receive power, along with practical troubleshooting suggestions.

Dorde Lights